

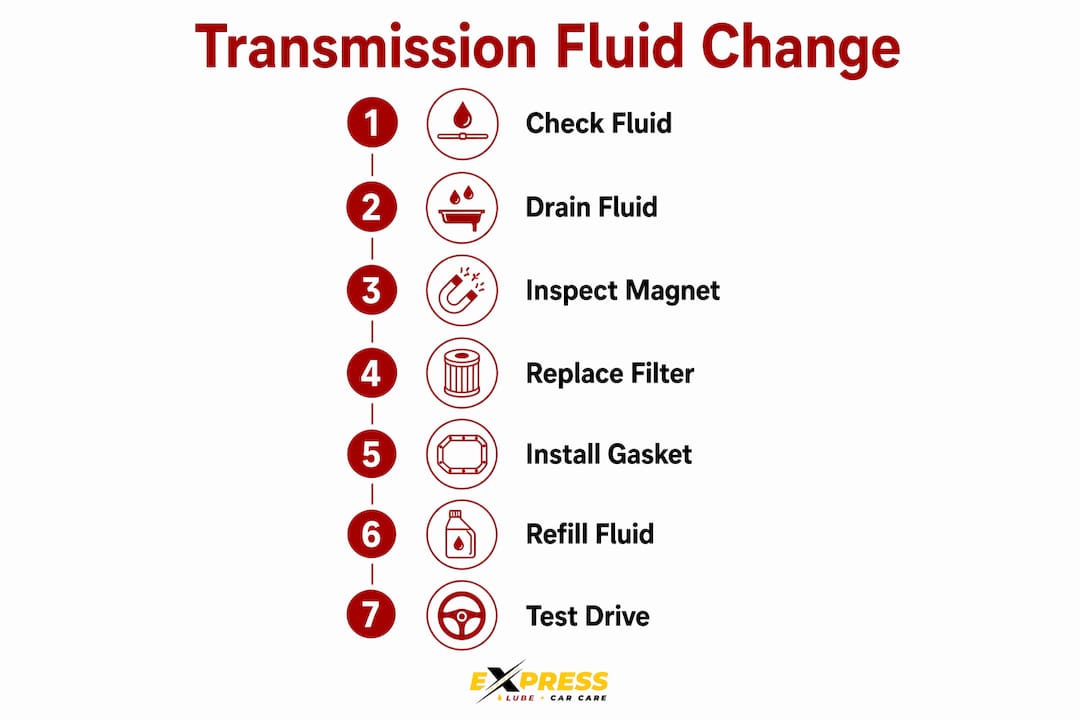
Changing your transmission fluid safely comes down to six core steps: prepare your vehicle and gather tools, warm and then cool the transmission, drain the old fluid, inspect the pan and filter, refill with the correct fluid, and test at operating temperature. Done right, this service protects one of the most expensive components on your car. Done wrong, or skipped entirely, and you’re looking at a repair bill that can run into thousands of dollars. Here’s exactly how to get it right.
The core steps at a glance:
- Warm up the transmission by driving 10–15 minutes, then let it cool 20–30 minutes before starting
- Raise and secure the vehicle on jack stands rated for your car’s weight
- Drain old fluid by loosening pan bolts in the correct sequence, not all at once
- Inspect the pan magnet and fluid color for signs of internal wear
- Replace the filter and gasket, torque bolts in a star pattern
- Refill with the manufacturer-specified fluid, starting at roughly 75% of the drained volume
- Check fluid level with the engine running and at operating temperature
- Test drive, then recheck for leaks at 50 miles and again at 500 miles
Table of Contents
- What does the transmission fluid change process actually require?
- Step-by-step guide to changing your transmission fluid
- How do you know when your transmission fluid needs changing?
- What experts say about fluid changes in high-mileage vehicles
- Expresslubearlington handles what DIY can’t
- Key Takeaways
- FAQ
What does the transmission fluid change process actually require?
Before you slide under the car, get everything staged and ready. Scrambling for a missing tool with fluid draining everywhere is how mistakes happen.
Tools and materials checklist:
- Floor jack and jack stands rated for your vehicle’s weight
- Drain pan (at least 6-quart capacity)
- Socket set and torque wrench
- Plastic scraper (never metal on aluminum surfaces)
- Brake cleaner and lint-free shop rags
- Long-neck funnel or fluid transfer pump
- Safety glasses and nitrile gloves
- New transmission filter and gasket kit
- Correct transmission fluid per your owner’s manual (buy extra)
Pro Tip: Check your owner’s manual before buying a single quart of fluid. Using the wrong ATF type causes shifting problems just as surely as running old fluid does. Honda, Toyota, Nissan, and many European makes each require their own specific formulation.
Fluid temperature matters more than most guides admit. Warm transmission fluid at around 150–180°F flows freely and carries more contaminants out with it, but fluid at full operating temperature will burn you on contact. Drive normally for 10–15 minutes, then let the vehicle sit for 20–30 minutes. That window gives you fluid that drains well without the burn risk.
Raise the vehicle on a flat, level surface and place jack stands on the frame rails, never on suspension components or the oil pan. Give the car a firm shake before going underneath. If it moves, it is not secure enough.
Step-by-step guide to changing your transmission fluid
Step 1: Check fluid condition before you drain
Pull the dipstick and wipe it on a white paper towel. What you see tells you a lot about what you’re walking into.
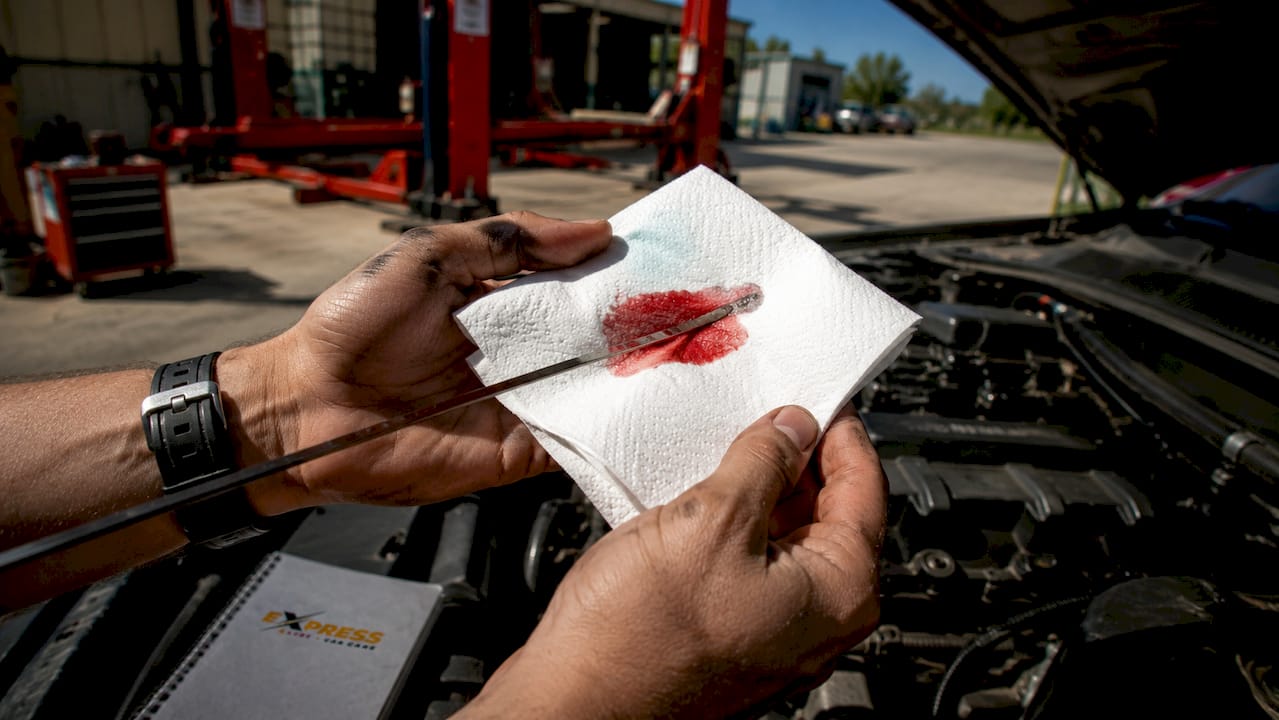
| Fluid color | What it means |
|---|---|
| Bright red or pink | Healthy, preventive change advised |
| Dark red or burgundy | Signs of wear, consider changing |
| Brown | Indicates need for change |
| Black or burnt smell | Possible internal damage, seek professional advice |
| Milky or frothy | May indicate contamination, stop and get a diagnosis |
If the fluid is black or milky, a simple pan drop is not enough. Get a professional diagnosis before proceeding.
Step 2: Drain the old fluid correctly
Position your drain pan slightly forward of where you expect the fluid to fall. It always travels farther than you think. If your pan has a drain plug, remove it and let the fluid drain fully. If not, loosen all pan bolts a few turns, then remove bolts from three sides while leaving two corner bolts on the far side finger-tight. Let the pan tilt and drain toward your catch pan, then remove the final bolts and lower the pan carefully. Removing all bolts at once drops the pan suddenly and can crack the gasket surface.
Step 3: Inspect the pan magnet
Almost every automatic transmission pan has a magnet, and it’s one of the most useful diagnostic tools you have. Fine gray metallic fuzz is normal friction material wear. Small shiny particles mean slightly elevated wear worth monitoring. Chunky metal pieces or sharp flakes signal active gear or clutch damage. Stop the job and get a professional look before driving the vehicle. Pan magnet inspection is an underused but genuinely effective way to catch transmission problems early.
Step 4: Replace the filter and clean mating surfaces
Remove the old filter carefully, noting its orientation before it comes out. Check that the old O-ring comes out with it. If it stays behind and you install the new one on top, you’ll have two O-rings stacked, which causes a serious leak. Use a plastic scraper to remove all old gasket material from both the pan edge and the transmission housing. Spray brake cleaner on a lint-free rag and wipe both surfaces until the rag comes away clean.
Avoid RTV or silicone sealant unless your owner’s manual specifically calls for it. Most rubber gaskets require a dry installation. Sealant misuse can contaminate hydraulic circuits and damage the transmission.
Step 5: Install the gasket and torque the pan
Position the new gasket on the cleaned pan. A tiny dab of petroleum jelly at the corners holds it in place while you lift the pan into position. Hand-thread all bolts first, then torque in a star or crosshatch pattern, never circling the pan. Perform a second torque pass after the first to ensure even gasket compression. Pan gaskets compress after initial tightening, and skipping this step can cause slow leaks within 500 miles.
Step 6: Refill, cycle gears, and check level
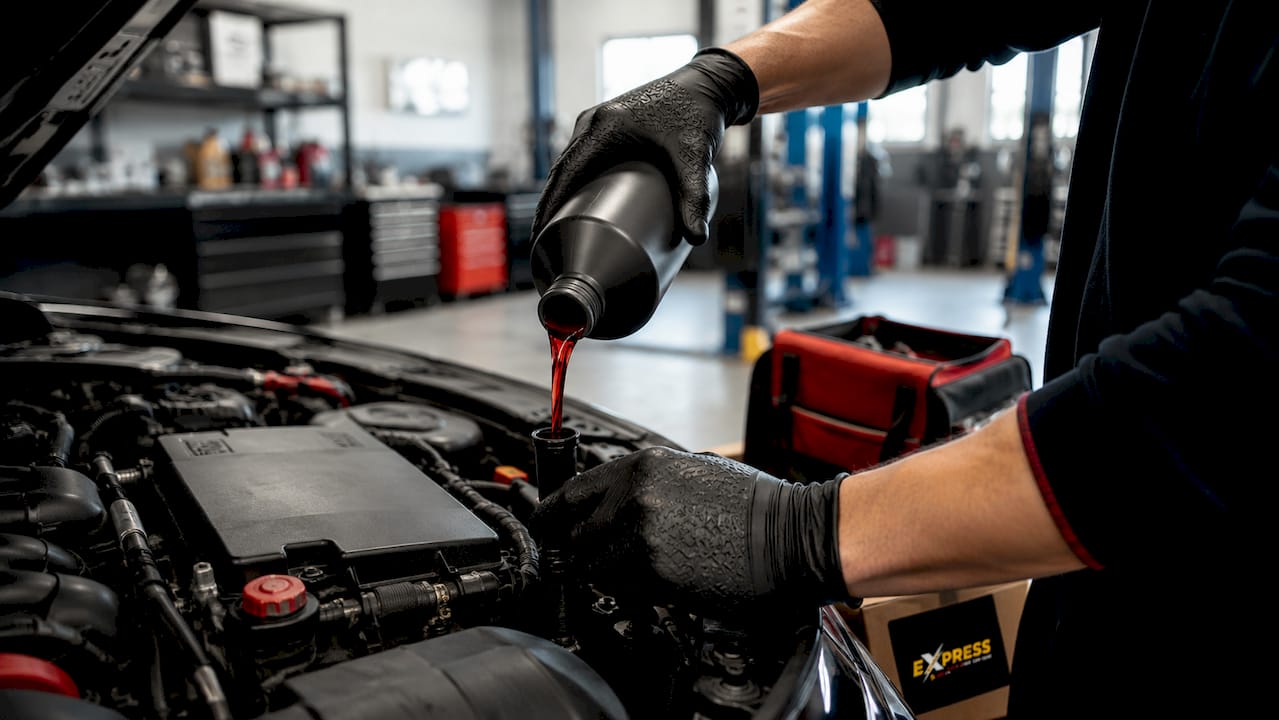
Lower the vehicle and add fluid through the dipstick tube. Start with roughly 75% of the volume you drained. Start the engine, shift through all gear positions (P, R, N, D, and any lower gears), pausing 2–3 seconds in each. Return to Park, then check the dipstick with the engine running. Add fluid in half-quart increments until the level hits the “hot” mark. Overfilling by even a small amount can cause foaming and erratic shifting, so go slow and check often.
Disposal: Used transmission fluid contains contaminants that are harmful to the environment. Most auto parts stores and local recycling centers accept used fluid at no charge. Never pour it down a drain or onto the ground.
Step 7: Test drive and follow-up checks
Drive for 10–15 minutes, including some highway speeds and multiple gear changes. Park on level ground, let it idle for two minutes, and recheck the level. Inspect underneath for leaks along the gasket line. Check again at 50 miles and at 500 miles. Gaskets can settle, and bolts may need a slight snug after the first heat cycle.
How do you know when your transmission fluid needs changing?
Most vehicles benefit from routine fluid changes at manufacturer-recommended intervals, though some manufacturers list “lifetime” fluid that still degrades over time. Heat is the real accelerant. Fluid life drops significantly under stop-and-go driving, towing, or hauling heavy loads, making a 50,000-mile interval prudent even when the manual allows longer. If your daily commute involves a lot of traffic or you tow regularly, treat that as severe service and shorten the interval accordingly.
Signs your fluid needs attention now:
- Dark brown or black fluid on the dipstick
- Burnt smell when you pull the dipstick
- Slipping gears or delayed engagement when accelerating
- Rough, jerky, or noisy shifting between gears
- Transmission temperature gauge running higher than normal
- Pink or red puddles under the parked car (a leak, not just old fluid)
- Foamy or milky fluid on the dipstick
Pro Tip: Check your transmission fluid every time you change your engine oil. It takes 30 seconds and gives you an early warning before a small problem becomes a big one.
Ignoring these signs doesn’t buy you time. It just makes the eventual repair more expensive. A transmission rebuild can cost far more than a routine fluid service, and the gap between those two outcomes is usually just consistent maintenance.
What experts say about fluid changes in high-mileage vehicles
High-mileage transmission service is where the real nuance lives, and where well-meaning advice can go sideways fast.
A pan-drop fluid change replaces a portion of the total transmission fluid. The rest stays in the torque converter, cooler lines, and valve body. A flush service replaces a greater amount of fluid, but may carry more risk, especially for transmissions that have never been serviced or have high mileage. The myth that fluid changes cause transmission failure almost always traces back to aggressive flush methods, not careful drain-and-fill service.
Changing fluid is generally safe and recommended around 100,000 miles even for vehicles marketed with “lifetime” fluid. The caution applies when fluid is already black, smells burnt, or contains metallic flakes. In those cases, the transmission may be relying on the viscosity and friction properties of that degraded fluid to keep worn clutch packs engaged. Fresh fluid can expose damage that was already there. For high-mileage vehicles, a conservative drain-and-fill is the right call. For truck owners managing heavier drivetrain demands, the same principle applies. You can find additional guidance on transmission service for trucks as part of a broader maintenance plan.
A second drain-and-fill performed about 1,000 miles after the first increases your total fluid renewal up to roughly 75%, a practical middle ground between a single pan drop and a full flush. The transmission fluid change benefits of this staged approach are real for vehicles with unknown service history. For high-mileage car care more broadly, the same principle holds: gradual, consistent service beats aggressive intervention every time.
Expresslubearlington handles what DIY can’t
Some jobs reveal more than you bargained for. If your pan magnet shows chunky metal debris, your fluid is black and burnt, or you’re not confident about torque specs and fluid types, that’s the moment to hand it off to someone who does this every day.
Expresslubearlington is a RepairPal Certified Shop and a CarFax Top-Rated Service Center in the DFW area. The ASE-certified technicians there handle everything from straightforward drain-and-fill services to complex transmission diagnostics, using the correct manufacturer-specified fluid every time. No guesswork, no wrong fluid, no stripped pan bolts. If you want the job done right without the risk of a costly mistake, regular maintenance saves money in the long run, and Expresslubearlington is where DFW drivers go to make that happen. Stop by or schedule your service today.
Key Takeaways
A single pan-drop transmission fluid change replaces roughly 40–50% of total fluid, making correct technique and follow-up checks at 50 and 500 miles critical to a successful service.
| Point | Details |
|---|---|
| Fluid temperature window | Drive 10–15 minutes, then cool 20–30 minutes before draining for safe, effective flow. |
| Pan-drop fluid renewal | A single drain-and-fill replaces 40–50% of total fluid; a second change at 1,000 miles raises renewal to roughly 75%. |
| Torque in a star pattern | Two-pass torque in a crosshatch sequence prevents gasket leaks within 500 miles. |
| Overfilling risk | Start at 75% of drained volume; adding even one extra pint causes foaming and erratic shifting. |
| Expresslubearlington | ASE-certified, RepairPal Certified shop in DFW for fluid changes, pan inspection, and transmission diagnostics. |
FAQ
Is 100,000 miles too late to change transmission fluid?
No, changing transmission fluid at 100,000 miles is generally safe and recommended by experts, provided the fluid is not black or metallic. Use a conservative drain-and-fill rather than a high-pressure flush.
Why do some mechanics say not to change transmission fluid?
The concern applies specifically to high-mileage transmissions with black, contaminated fluid. In severely worn units, old fluid may be masking clutch wear, and fresh fluid can expose that damage. The fix is a careful drain-and-fill, not skipping service altogether.
How long does a transmission fluid change usually take?
A standard drain-and-fill service typically takes about an hour. Vehicles requiring pan removal for filter access may run longer.
Can I mix new transmission fluid with old?
A pan-drop naturally leaves about 50–60% old fluid in the torque converter and lines, so some mixing is unavoidable and acceptable. Never mix different ATF specifications, though. Using the wrong fluid type causes shifting problems regardless of how clean it is.