
Brake pedal pulsation most often results from disc thickness variation (DTV) or rotor lateral runout, not a “warped” rotor in the way most drivers picture it. Secondary culprits include uneven pad deposits, sticking caliper hardware, hub corrosion, and occasionally ABS activation. Avoid highway speeds until you’ve had it inspected, and start with a careful test drive to note exactly when the pulse shows up.
TL;DR:
- Brake pedal pulsation mainly results from disc thickness variation caused by lateral runout, often due to corrosion or debris between the rotor and hub.
- Measuring lateral runout and rotor thickness variation with proper tools is essential, as small variances of 0.0005 inches can produce noticeable pulses.
- On-car rotor resurfacing is suitable if the rotor material remains thick enough, but severe DTV or cracks require rotor replacement and hub cleaning for a proper fix.
- Driver observations during test drives and visual inspections help differentiate between rotor issues, caliper problems, or pad deposits that mimic pulsation.
- Driving with pulsating brakes is generally safe for short distances at low speeds but should be inspected immediately if symptoms worsen or accompanied by noise or loss of braking power.
Table of Contents
- What Causes Brake Pulsation in the Pedal?
- Diagnosing Brake Vibration Issues Before You Head to the Shop
- How Technicians Measure and Confirm Brake Pulsation Causes
- Fixing Brake Pulsation: Machine, Replace, or Service the Caliper?
- Safe DIY Checks You Can Do at Home
- Is It Safe to Drive With Pulsating Brakes?
- What a Reputable Shop’s Diagnostic Process Looks Like
- Get Your Brake Pulsation Diagnosed the Right Way in Arlington
- Sources
- FAQ
What Causes Brake Pulsation in the Pedal?
Here’s the thing most drivers get wrong: your rotors probably aren’t warped. What you’re actually feeling is disc thickness variation, or DTV. As the rotor spins between the pads, thickness changes as small as a few ten-thousandths of an inch push the caliper piston in and out with every rotation. That rhythmic push transmits straight up the brake line to your foot.
Where does DTV come from in the first place? Usually from lateral runout, meaning the rotor wobbles slightly side to side as it spins instead of running perfectly true. Corrosion or debris trapped between the rotor hat and the wheel hub is a common cause, forcing the rotor to seat at a slight angle. Once that happens, the rotor wears unevenly every time you brake, and DTV develops over weeks or months.
It helps to know the difference between two related complaints:
- Pedal pulsation comes from DTV, felt as a rhythmic pulse in the brake pedal itself.
- Steering wheel or seat shake (sometimes called judder) often points toward the front rotors specifically, or occasionally a suspension issue, and technicians treat it as a separate diagnostic path from pure pedal pulsation.
- Pad deposits and glazing happen when friction material transfers unevenly onto the rotor face, building high spots that mimic true thickness variation.
- Caliper issues, like a sticking slide pin or a piston that won’t retract evenly, create uneven clamping force that can feel similar to DTV.
- ABS-related pulses are usually tied to sensor activity or the anti-lock system engaging, and they feel and behave differently from a mechanical rotor pulse.
Pro Tip: If the pulse only shows up under light, gentle braking and disappears when you brake hard, that pattern usually points to mechanical DTV rather than the ABS system kicking in.
Diagnosing Brake Vibration Issues Before You Head to the Shop
You don’t need a lift to gather useful clues. A few minutes of careful observation gives your technician a real head start.
- Note where you feel it. A pulse in the brake pedal itself points to DTV. A shimmy in the steering wheel suggests the front rotors. A vibration through the seat can mean the rears or even a driveline issue.
- Do a controlled test drive. On a safe, empty road, brake gently from around 45 to 50 mph down to a stop, then repeat from around 65 mph. Note whether the pulse shows up at both speeds or only one.
- Check for a pattern. Does it happen every stop, or only after highway driving when the rotors are hot? Heat-related onset often points to pad deposit transfer.
- Do a parked visual check. Look through the wheel spokes for scoring, discoloration, or an obviously uneven rotor edge, and check remaining pad thickness if you can see it.
- Check for wheel play and lug-nut torque. A loose wheel bearing or unevenly torqued lug nuts (always tightened in a star pattern) can mimic or worsen a pulsation complaint.
Write these observations down. That short list, speed, frequency, and location, is exactly what a technician needs to start the diagnosis efficiently instead of guessing.
How Technicians Measure and Confirm Brake Pulsation Causes
Diagnosing brake pulsation the right way means measuring it, not eyeballing it. Two tools do the real work here.
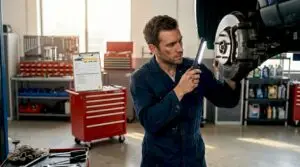
- A dial indicator mounted against the rotor face measures lateral runout as the wheel is spun by hand, capturing how far the rotor wobbles off true.
- A micrometer measures rotor thickness at multiple points around the disc to calculate actual DTV.
The tolerances involved are tiny. A thickness variation of just 0.0005 inch can be enough to trigger a noticeable pedal pulse, which is why guessing by feel alone rarely leads to the right fix. Many OEM technical service bulletins require these measurements to be recorded before any machining or parts replacement, since runout and DTV values guide whether on-car machining, indexing the rotor to the hub, or hub cleaning is the correct next step. Lug-nut torque and a clean hub-to-rotor mating surface matter here too. A speck of corrosion under the rotor hat can throw off runout readings before a single cut is even made.
Fixing Brake Pulsation: Machine, Replace, or Service the Caliper?
Once the measurements are in, the repair path usually falls into one of a few categories.
- On-car lathe resurfacing can correct DTV when the rotor still has enough material left and the underlying hub surface is clean and true. This machines the rotor while it stays mounted on the vehicle, cutting both faces to match the car’s actual hub, not a bench fixture.
- Rotor replacement becomes necessary when the disc is too thin for further cutting, shows cracking, or the DTV is severe enough that resurfacing wouldn’t leave enough margin. New rotors still need to be properly indexed to the hub, since skipping that step can let a corroded or dirty hub surface reintroduce the same runout on brand-new parts.
- Caliper and hardware service addresses seized slide pins or a piston that isn’t retracting evenly, which causes uneven pad wear that can look like a rotor problem even when the rotor itself measures fine.
- Hub cleaning removes the corrosion or debris that caused runout in the first place, and it’s a step that’s easy to skip and expensive to regret skipping.
Pro Tip: Ask whether the shop records before-and-after runout and DTV numbers. That documentation is how you know the fix actually addressed the root cause instead of just installing new brake pads and hoping.
Safe DIY Checks You Can Do at Home
You can gather good diagnostic information without touching anything you shouldn’t.
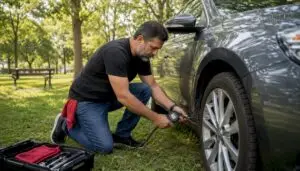
- Chock the wheels, engage the parking brake, and safely jack up and support the car before removing a wheel.
- Inspect pad thickness and look at the rotor face for scoring, blue discoloration (a sign of overheating), or shiny transfer spots.
- Photograph anything unusual, glazing, uneven wear, or deposit spots, so your technician can see exactly what you’re seeing.
- Write down your test-drive notes: speeds, frequency, any noise, and whether the car has had recent brake work.
What you should not do at home: attempt to machine a rotor, try to reseat a caliper piston without the right tools, or keep driving normally once pulsation becomes severe. Those jobs require calibrated equipment and training for a reason.
Is It Safe to Drive With Pulsating Brakes?
Pulsation degrades pedal feel and can extend stopping distance, which matters most in an emergency stop. It’s rarely a sign of total brake failure on its own, but it’s not something to ignore either.
Stop driving and arrange a tow if you notice any of these:
- A sudden loss of braking power or a pedal that sinks toward the floor
- Grinding or metal-on-metal noise during braking
- Any smell of smoke or visible smoke near a wheel
- A rapid, noticeable increase in stopping distance
Short of those red flags, drive conservatively: reduce speed, add following distance, skip highway driving if you can, and get the car inspected soon. Reviewing common brake problem symptoms can help you decide how urgent your situation is.
What a Reputable Shop’s Diagnostic Process Looks Like
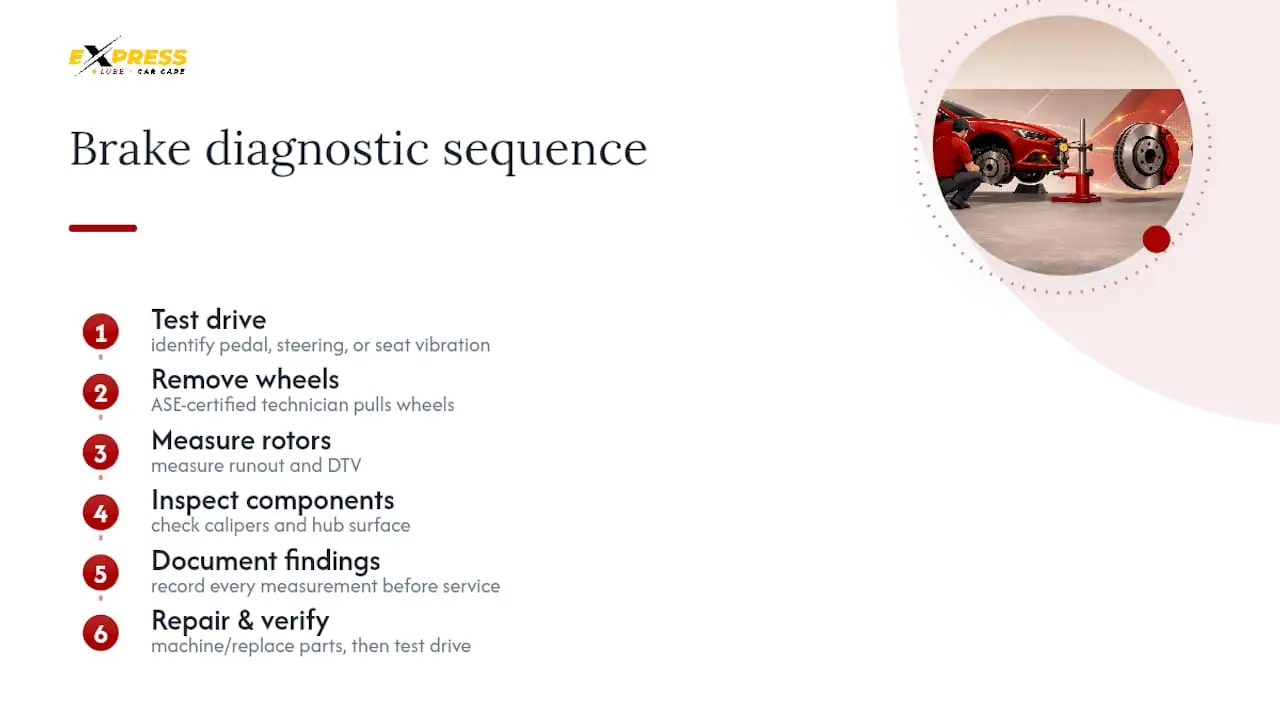
A proper diagnosis starts with a test drive to pinpoint whether the vibration is pedal, steering, or seat related, since that distinction changes everything downstream. From there, an ASE-certified technician pulls the wheels, measures runout and DTV, and inspects the calipers and hub surface. Every measurement gets documented before any machining, replacement, or caliper service happens, and a verification test drive confirms the fix actually worked.
Get Your Brake Pulsation Diagnosed the Right Way in Arlington
Guessing at brake parts wastes money when the real problem is a corroded hub surface or a caliper that needs service instead of a new rotor. Express Lube & Car Care measures before recommending, using the same dial indicator and micrometer checks outlined above, so you get an itemized explanation instead of a parts-cannon repair order.

Every visit includes a documented inspection, a clear explanation of what’s actually causing your pulsation, and repair work backed by a 24-month/24,000-mile warranty. If a repair costs more than expected, flexible financing options are available so a needed brake job doesn’t have to wait. For a deeper look at what shop quality should actually mean, see how ASE and RepairPal certification factor into a repair you can trust. Schedule your brake inspection with Express Lube & Car Care today and get a measured answer instead of a guess.
Sources
- Why Do I Have a Pulsing Brake Pedal? | PowerStop Brakes
- Brake Runout TSBs on Pulsation: What do They Mean?
- Curing Brake Pulsation And Judder Complaints Starts With The Customer
- BRAKE ROUGHNESS AND PEDAL PULSATION (technical bulletin)
- ABS brake pulsations – iFixit Repair Guide
FAQ
How Do You Fix Pulsating Brakes?
The fix depends on measured runout and DTV values. Options range from on-car lathe resurfacing for correctable rotors to full rotor replacement, caliper hardware service, or hub cleaning when corrosion caused the runout in the first place.
Why Is My Car Pulsating When I Brake?
Most pedal pulsation traces back to disc thickness variation, often caused by lateral runout from a corroded or dirty hub surface. Uneven pad deposits, sticking caliper hardware, or occasionally ABS activation can also produce a similar feeling.
Can You Drive With Pulsating Brakes?
Short distances at reduced speed are generally tolerable, but pulsation degrades pedal feel and can extend stopping distance. Get it inspected promptly, and stop driving immediately if you notice grinding, smoke, or a sinking pedal.
What Does It Mean When Your Brakes Feel Like They Are Pulsing?
A pulsing brake pedal almost always means the rotor has developed thickness variation as it spins, pushing the caliper piston in and out with each rotation. It’s rarely a true “warped” rotor in the way that term is commonly used, and it’s worth having inspection frequency checked if it’s a recurring issue.